Burial Flag Display Case

After many years of my grandfathers casket interment flag being displayed in the veteran issued plastic bag, I decided to honor his memory in a hand made display case which I could gift to my grandmother for Christmas.
My grandpa John was the one who got me interested in tinkering. He had a workshop in his basement and I credit my passion for building to him. He had a kids dream shop; tools everywhere and I had nothing but endless time to make whatever I could imagine!

My grandparents had a massive walnut tree in their backyard, so I figured walnut would be the perfect choice for this display case. I picked up a large board and broke it down on the miter saw into manageable pieces.
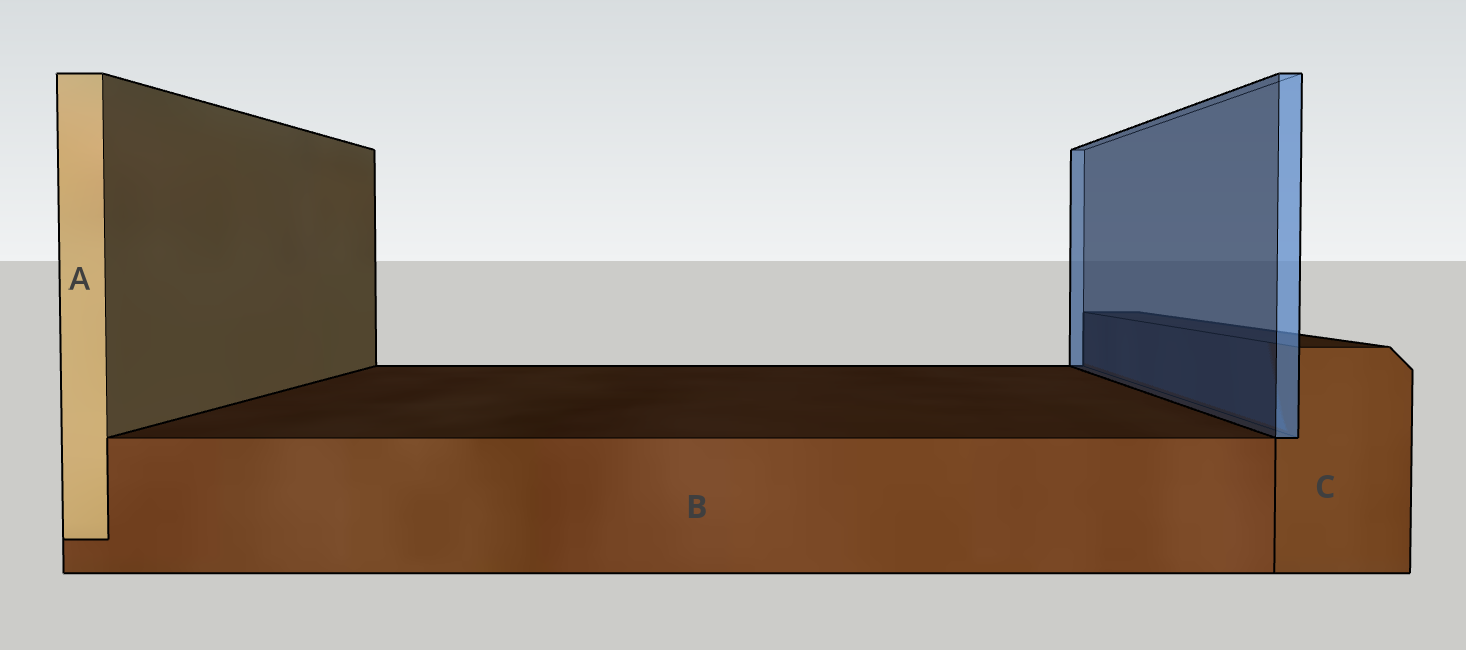
Each of the three sides of the triangle are made of two walnut components. The trim piece on the right side of the image (C) will hold the plexiglass panel in place as well as add a decorative aspect. The bottom section (B) is the width of the flag. It has a rabbet in the back as a place to attach the plywood backer (A).


I put a rabbeting bit in the router and set it up in the router table. It felt a little sketchy to run the board on edge so I used a vertical jig and some clamps so I could keep my fingers clear while running the board through. A dado stack in the table saw would also work.

Next up is the front trim piece. I routed this the same way as the other board using the vertical jig. I snuck up on the depth of cut until the remaining piece the exact thickness of the lumber. I then routed the decorative chamfer on the opposing face.

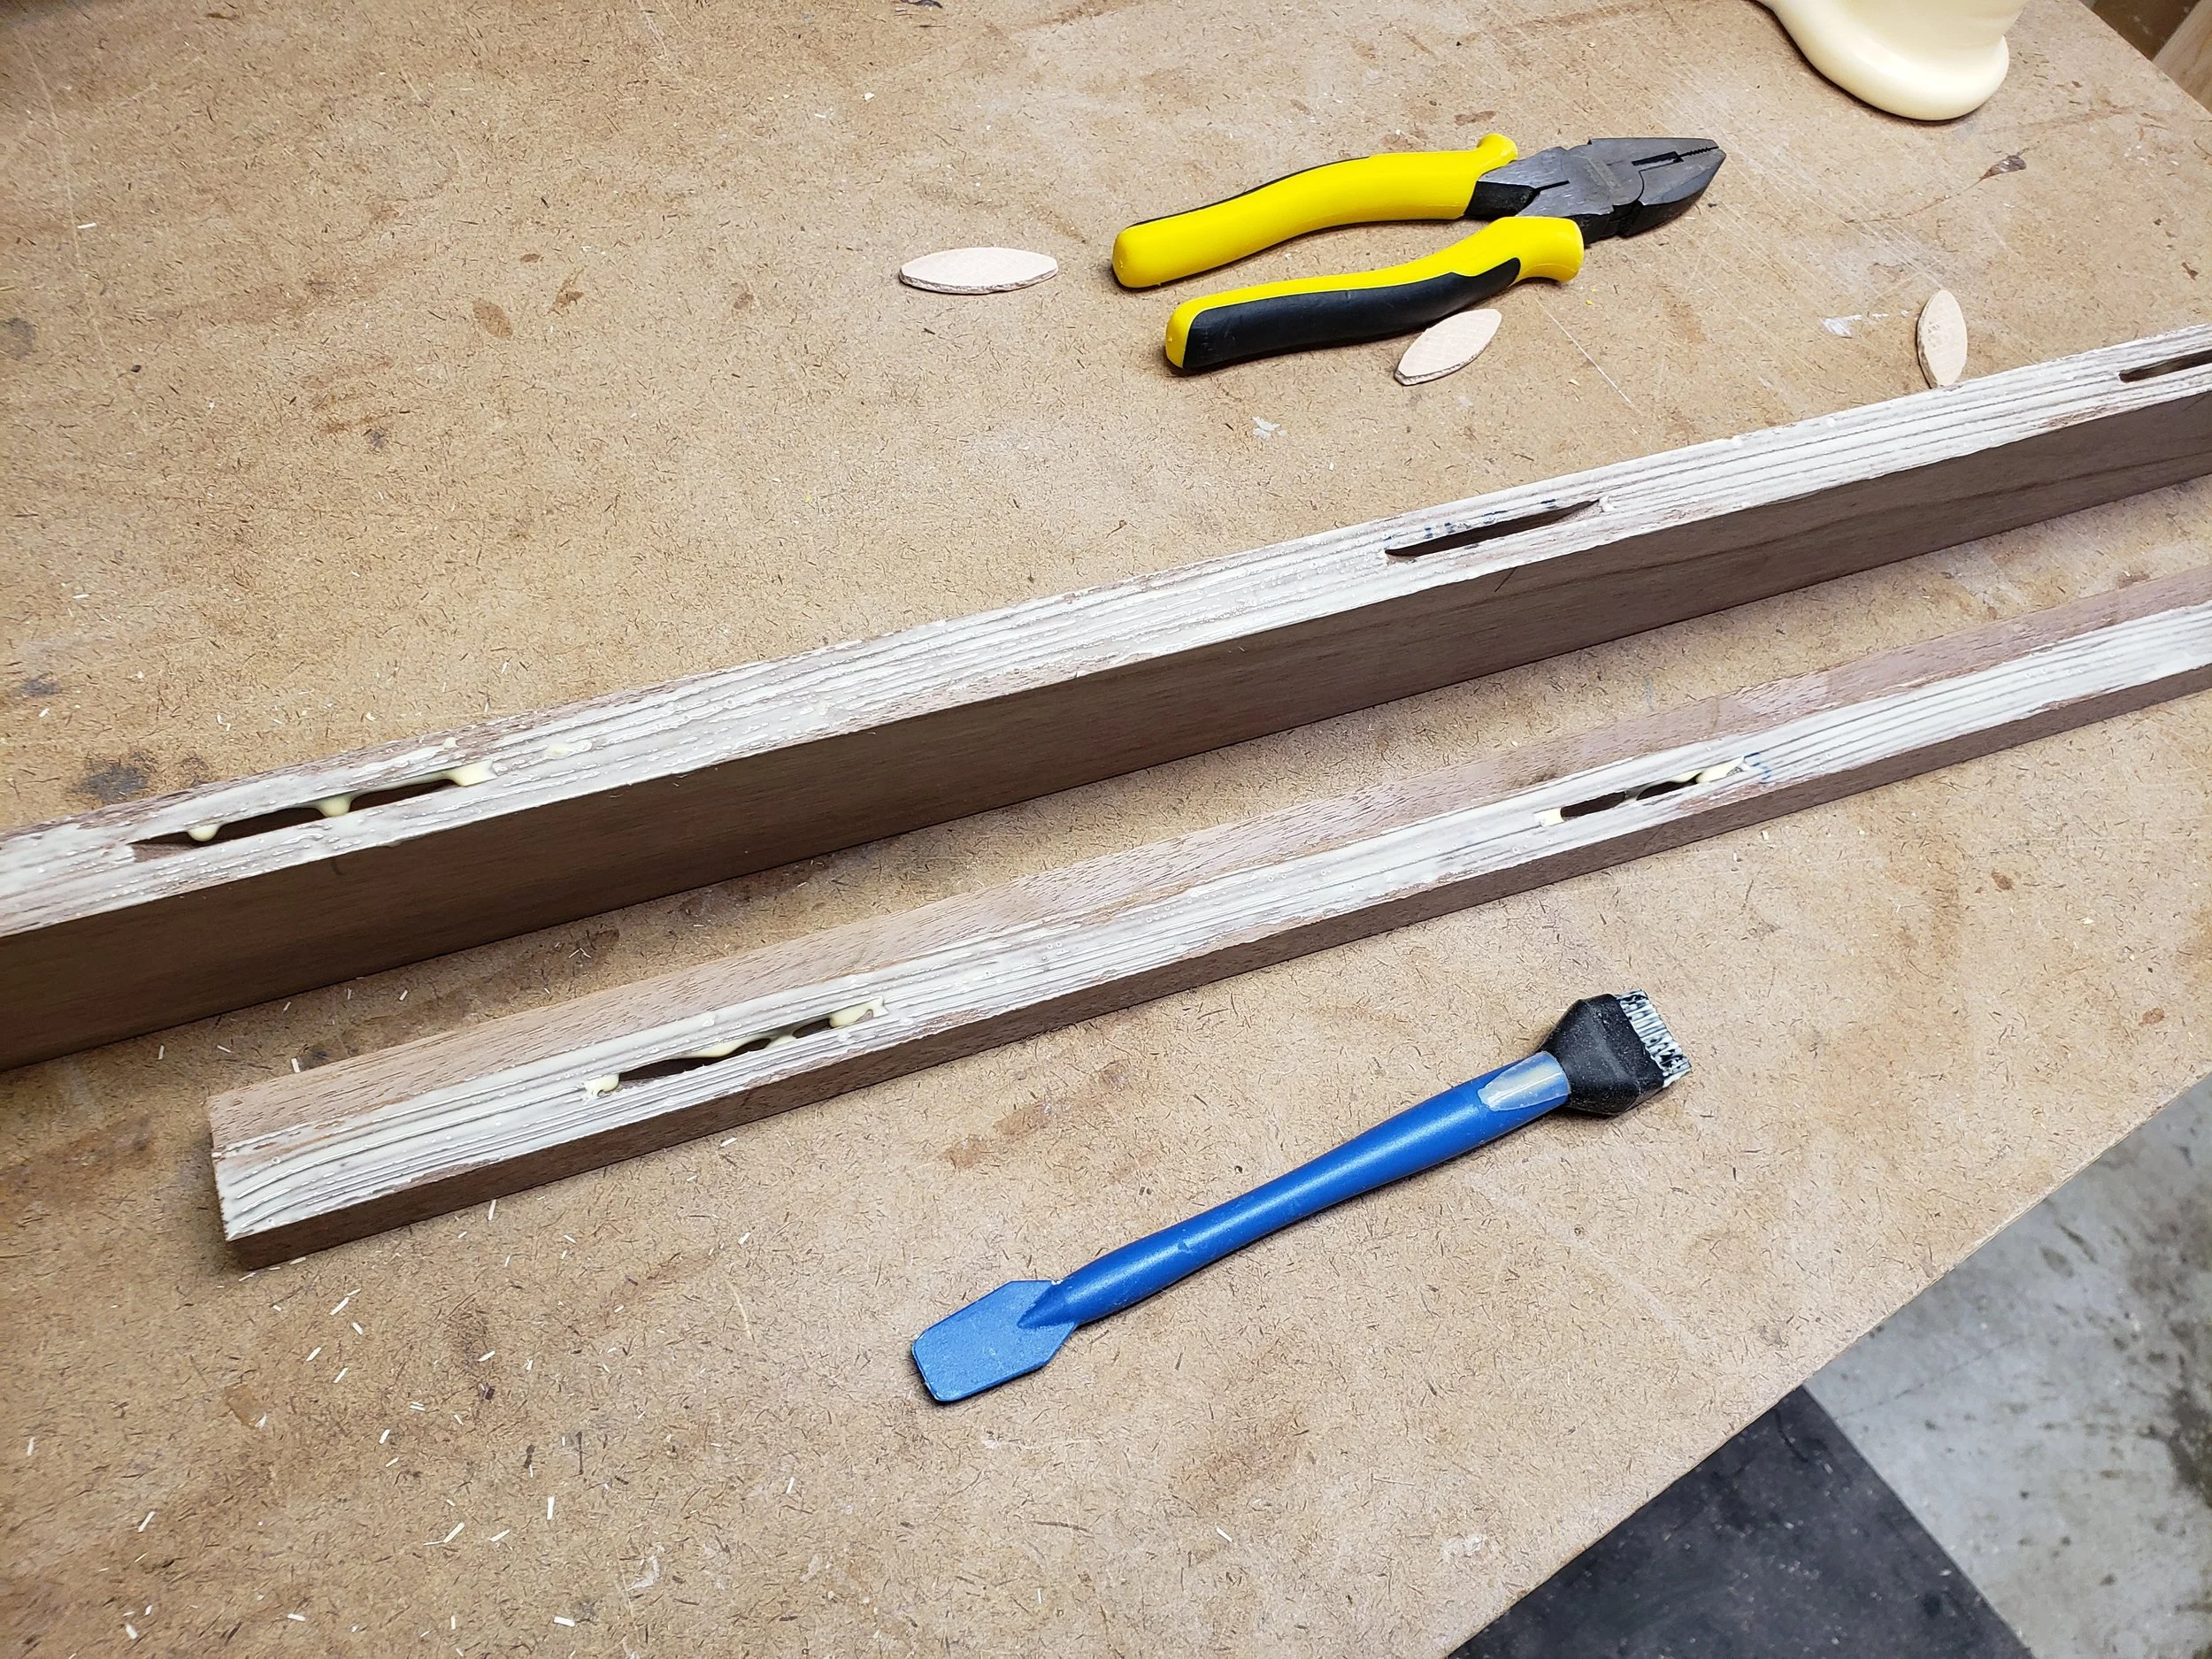
To connect the two pieces I used a biscuit joiner. The biscuits help to align the parts as the glue dries. If you don’t have a biscuit or domino joiner, pin nails through the trim pieces will secure it in place along with clamps.

Time for the angles. The top is a 90° angle and the two lower ends are 45°. Divide each in half and we know we need to make 45° and 22.5° cuts.

The safest and most accurate way to make the bevel cuts is by using a table saw tenoning jig that rides along the fence. Here is one method on how to make this style of jig. To make the 22.5° angle, we need to subtract from 90°, which gives us a 67.5° blade tilt. A digital angle finder is very valuable in these types of cuts.

I applied glue the the faces and wrapped a ratchet strap clamp around the triangle to keep it snug while the glue dried. To avoid marring the edges, I used some scrap wood with a 45° angle cut into it to protect those lower corners and help apply even pressure.


To reinforce those glue joints, I decided to add splines. I made two saddle jigs, similar to the video linked earlier. On the faces of these jigs, I added two supports that will hold the triangle upright at 45° and 90°. Doing so will ensure even cuts directly through the corners.

Here is a rear view of the saddle jig. You can see the supports that the triangle is cradled in.


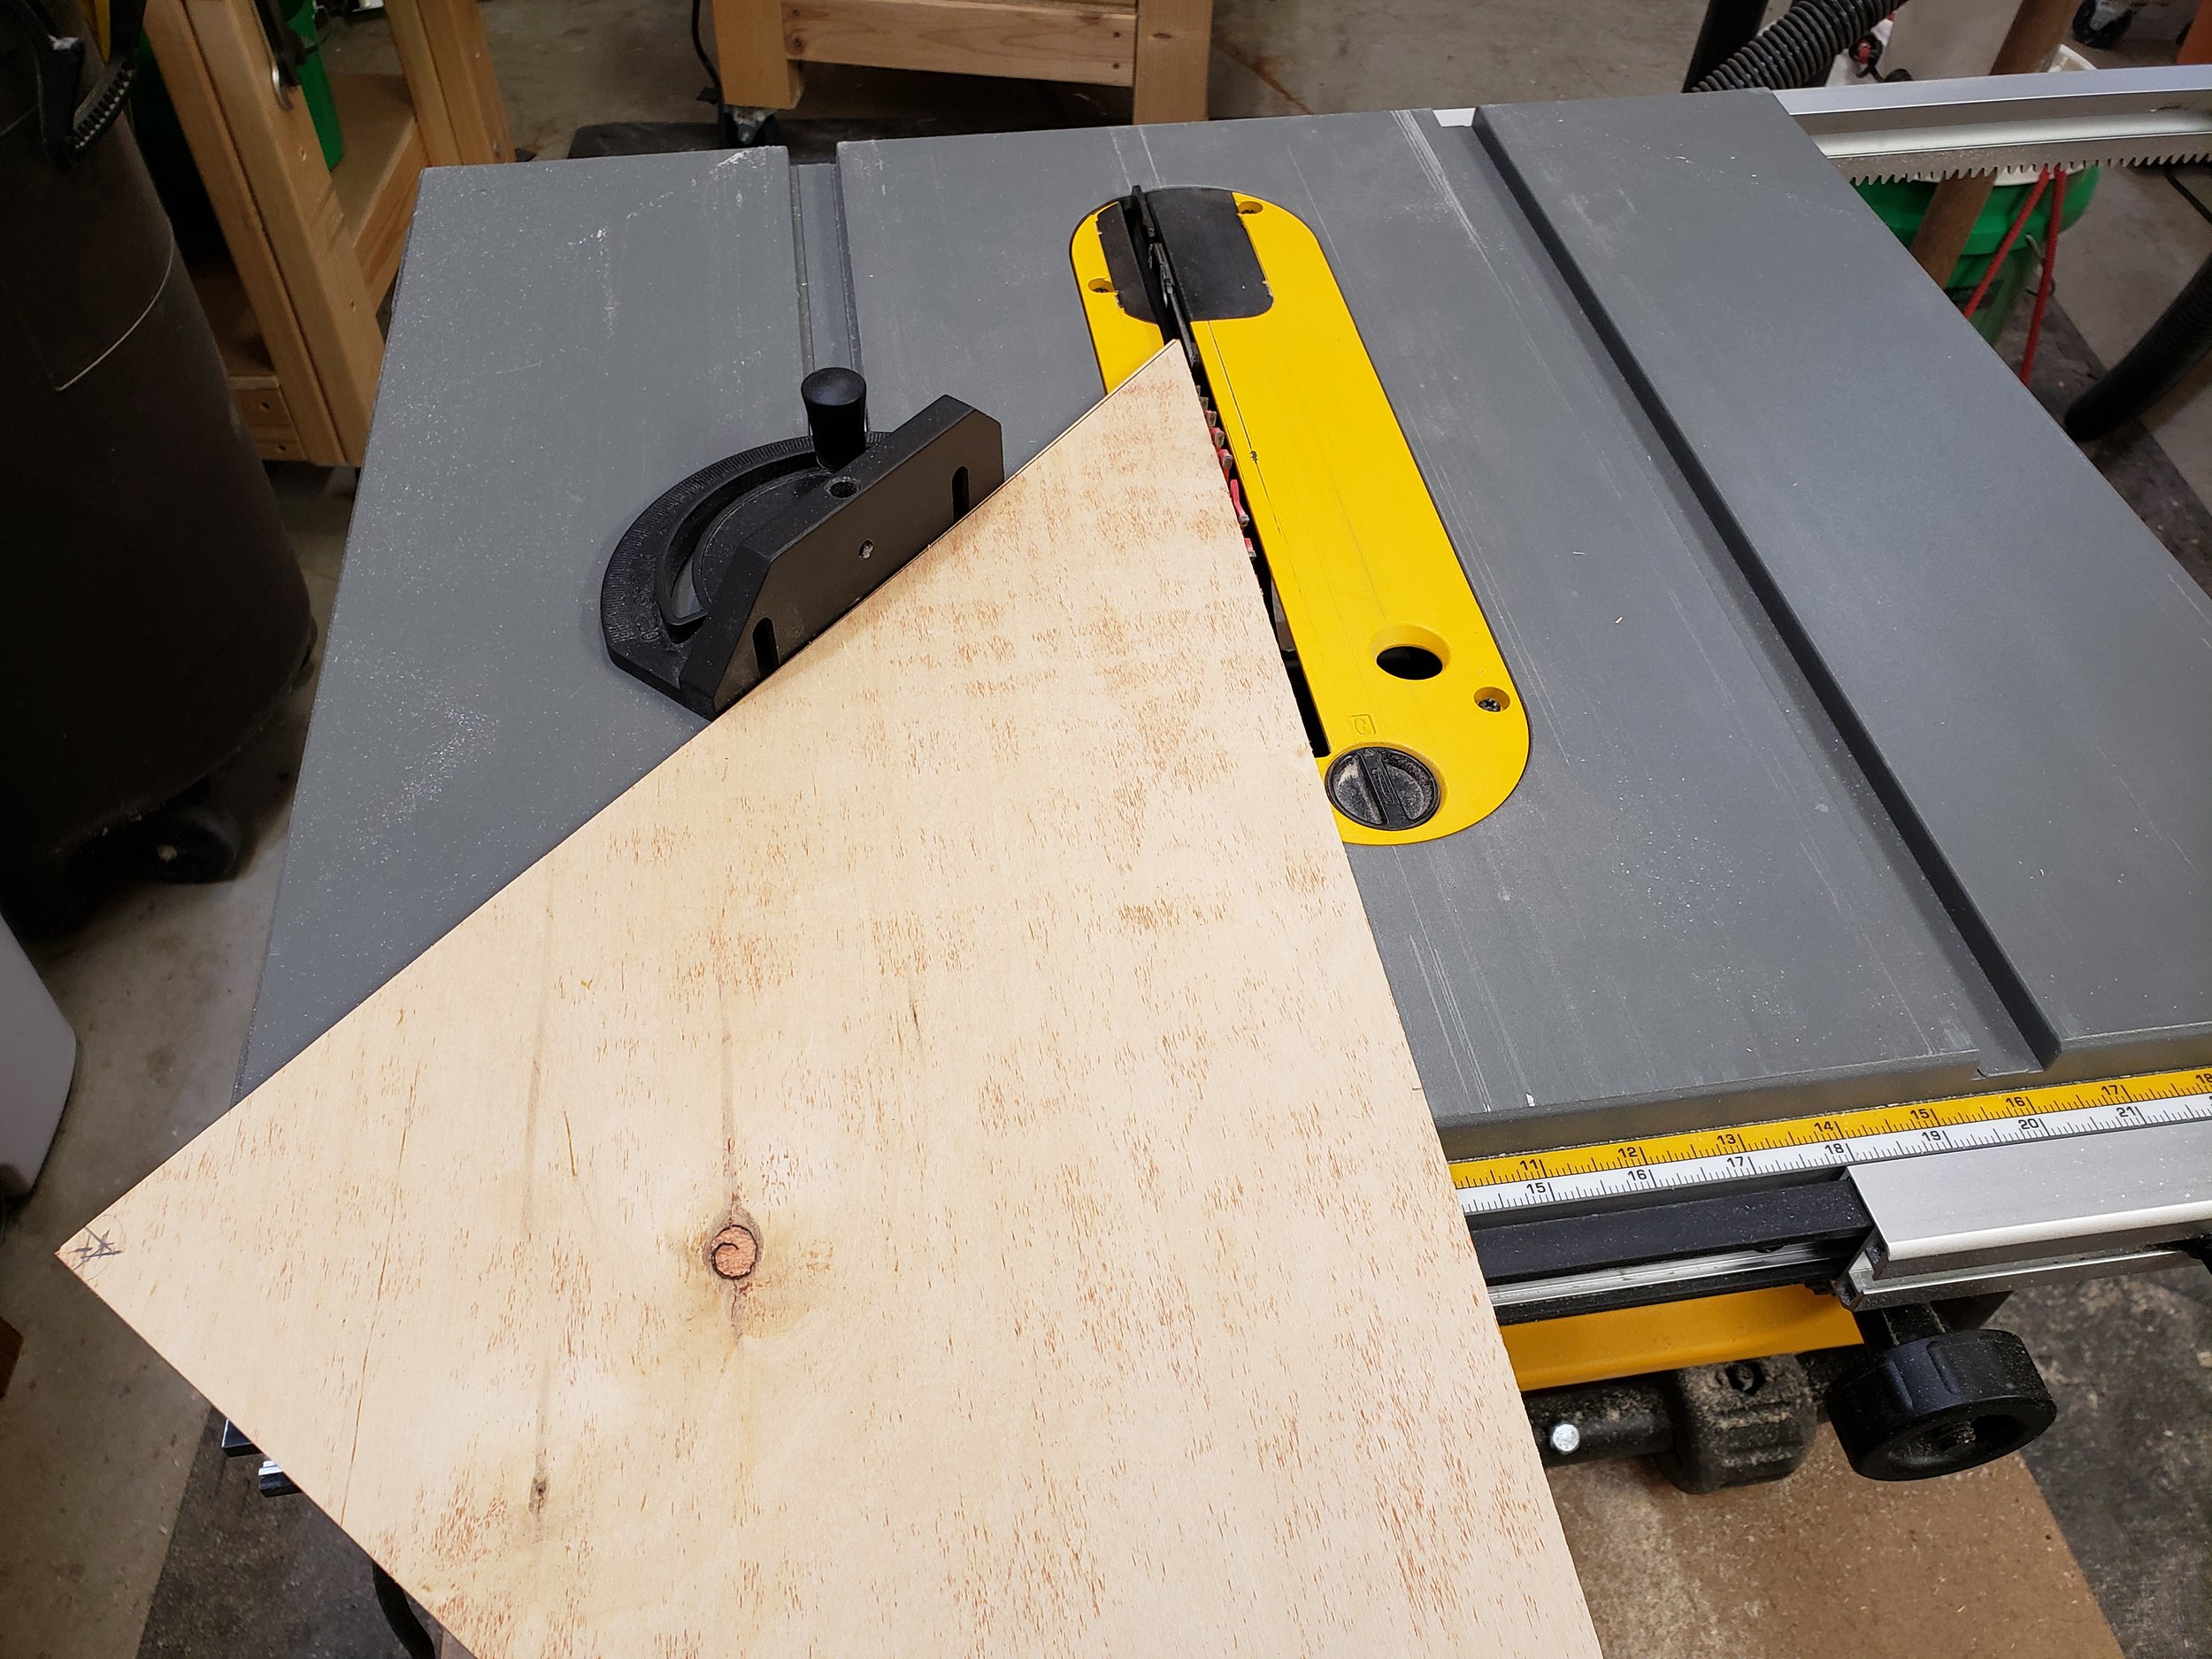
I took some careful measurements and cut a piece of 1/4” plywood to act as the backer. Note to past self: invest in a better miter gauge!

Measurements on the backer help to determine the location of the screws that will keep the backer fastened to the frame. Be sure not to add any glue, we need to be a able to remove this backer for finish and to add the flag! A few countersinks on the drill press takes care of this step.

I purchased a 18” x 24" x .093” (about 3/32”) sheet of clear acrylic plexiglass to make the display window. Glass could be used, but I always have mixed results cutting glass and find it’s just not worth the hassle. I was a little hesitant to cut it on the table saw, so I clamped a “door board” jig to the sheet and cut it to size with a circular saw. It cut really well and probably would have been fine on the table saw.

Multiple coats of wipe-on polyurethane protect the frame and let the wood shine. The maple and walnut contrast is vibrant now.

I had a custom name plate created at a local trophy shop and attached it to the front. The acrylic was set in place, the flag inserted, and the backer screwed on.

Honoring my grandfather’s memory with a burial flag display case was a rewarding and creative way to honor him. Gifting it to my grandmother was a special moment that I will always remember. She kept it displayed in her living room until her passing. I now have it displayed in my own home.
I believe my grandfather would be quite proud of this website, my workshop, and the creations I have come up with. Miss you Grandpa!
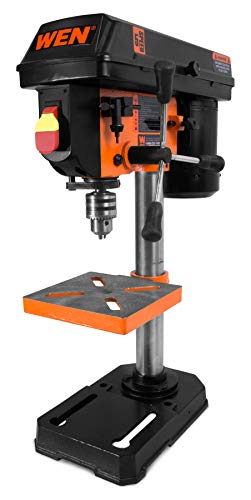
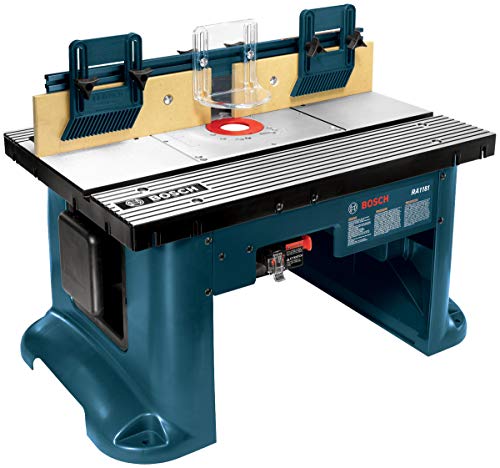
Tools and item used in this project