Mirror Shelf with Hooks

The laundry/mud room has a large closet, but aside from throwing things on top of the washing machine, there was never a great place to put things like keys, sunglasses, etc.

This was the inspiration for the project, minus the rustic look. It was selling at Pier 1 for an absurd price.


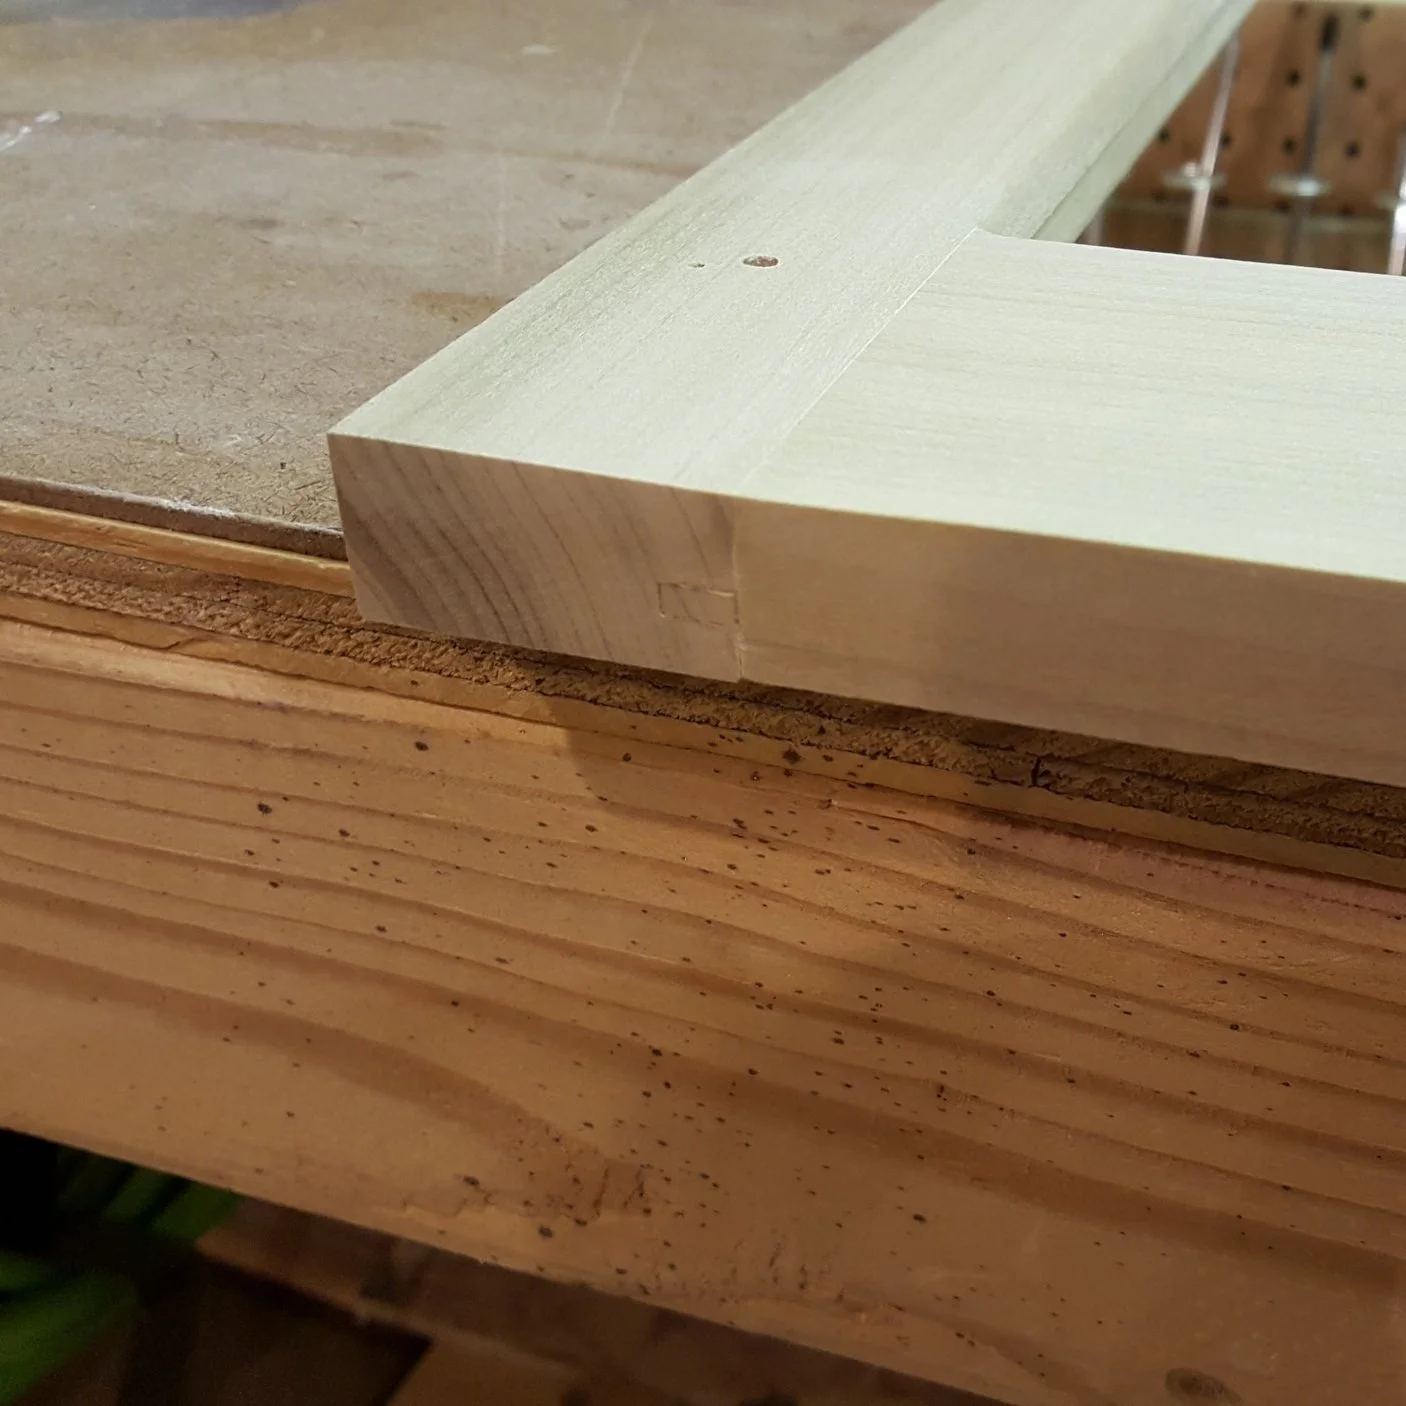
Since the frame would be painted, I chose to use poplar wood. Poplar paints very well and is easy to work with, as well as durable. The shelf is a piece of maple, which looks great when stained. I ripped the frame sections down to width and mitered the corners at a 45° angle on the chop saw. I used some painters tape to line the two side pieces up, ensuring they would be the exact same length.

Once all of the pieces were cut, I laid them out to verify the plan would work and that it looked good.

Next, I created a dado on each inner piece of the frame to allow a mirror to slide in. A dado is a groove cut in the wood which another piece of wood (or glass in my case) fits into. I did this by raising the table saw blade up 1/4" and running them through the center of the board. My blade was slightly thinner than the glass, so I flipped the board on end and ran it through again. Not only does this slightly widen the dado, but it guarantees my cut is dead center.

I created the pocket holes using my Kreg Jig to join the rails and stiles. I know I say it a lot, but pocket holes are so handy and easy to use. The mitered corners on the top didn't have enough room to use pocket holes so I used brad nails. Luckily this project will be painted so hiding nail holes with a bit of putty isn't a problem.

I nearly screwed myself here. I had to have the frame fully together in order to round all of the edges over on the router table, yet I couldn't have the glass in there. So, I went about putting the frame together, glue and all. About 30 seconds after attaching, it occurred to me I will never be able to get the glass slid in once it dries! Luckily I was able to unscrew the bottom board, coax the joint apart with a hammer, and wipe all of the glue off with a wet rag. I then reassembled the joint with screws only. That way, after routing, I could unscrew the boards, slide the glass in, add the glue, and screw. Close one there!

Raised the round-over router bit out of the table just enough to make a gentle curved edge.

Final rounded top with 1/4" dado groove below.

Before I got the bottom attached I pre-drilled and countersunk some holes to attach the maple shelf.

So, where did I get the glass? Actually, this old glass had been part of a decoration once and was kicking around in the basement since college. I did some looking online and found that it is extremely easy to cut glass with a cheap glass cutter.

Easy my ass. You can clearly see my progression in skill. I didn't fully understand how the cutter worked until the last piece. The trick is push fairly hard in one smooth motion and use a table edge to break the scored glass. The mirrored glass I was cutting was also much thicker than the YouTube video above.
Update: while working on the vanity build, I found that you can go to Ace Hardware and they will supply AND cut your glass for a few dollars. Totally worth it!

Fortunately, I had the dadoes to hide the jagged edges, no one will ever know! Well, except for anyone that sees this post..

Since I cut the dadoes straight through the length of the boards, there was a gap in the bottom. I cut a little piece of scrap wood the width of the gap and glued it in.
Then, using a flush cut saw, I hacked off the end and sanded it smooth. Like the nail holes, this will be puttied and painted, leaving no marks.

I used some painters tape around cardboard to cover the mirrors up and hit it with a coat of primer from the HVLP spray gun. The spray gun was one of the best investments I've made; it leaves a professional finish and eliminates the dreaded paint streaks.

An off-white, semi-gloss paint was used. It came out looking amazing.

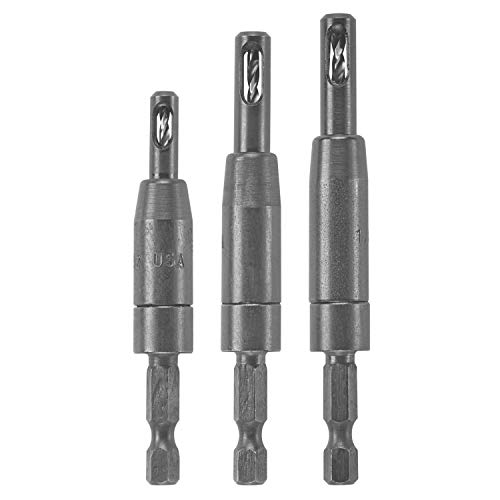
The four coat hooks were equally spaced and screwed in with the help of a self-centering drill bit.

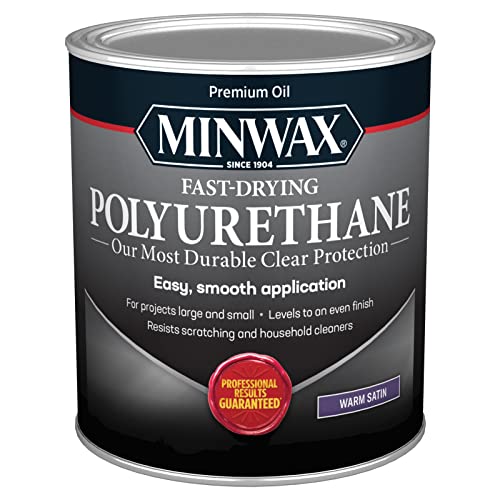
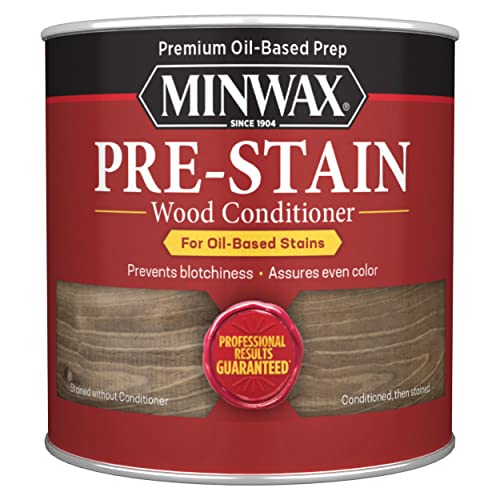
I drove some long screws through a piece of scrap wood to hold up the shelf while I stained it. This allowed me to get right up to the edge. I started off by applying some pre-stain wood conditioner which helps to avoid blemishes and lets the stain settle evenly. After some different sampling, I chose to use a weathered oak stain. When put on maple it had a warm, almost orange color which matched nicely with the off white of the shelf. Lastly, I gave it a coat of Polyurethane to protect it. All of these layers were applied with foam brushes.

The final touch was to nail on a picture hanger hook in the top center to hang on the wall.

I mounted it on the wall in the recently remodeled laundry room and now have a place to put all my junk when I walk in the house! This was a pretty quick and easy project, which cost next to nothing and serves a great purpose in the home.
Tools and items used in this build
Power tools and accessories


Finishing supplies